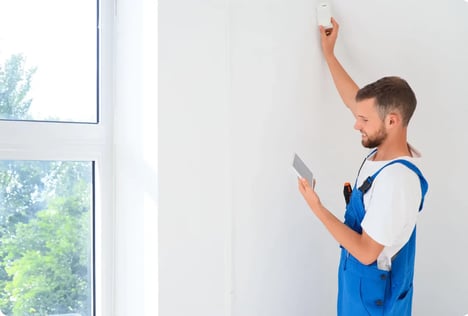
There are two methods for installing KamiCare: You can easily do it yourself (DIY) or arrange for professional installation.
When it comes to setting up KamiCare, you have two convenient options: DIY installation or opting for professional assistance. If you're the hands-on type, the DIY route allows you to follow a detailed installation guide to set up your cameras and system independently. As a KamiCare customer, you'll also benefit from ongoing KamiCare support at no additional cost.
For those who prefer a hassle-free experience, professional installation is available. Kami Vision will send a skilled technician to your location to handle everything, with installation pricing customized to fit your specific needs.
For a DIY installation, start by unpacking your device.
You'll find a plastic mounting bracket with two screw holes, screws, and drywall anchors.
- Secure the bracket to the ceiling, twist your KamiCare sensor onto it, and connect the device.
- Pair it with your KamiCare portal, activate fall detection, and you're ready to go.
Make sure the camera is mounted on a part of the ceiling that provides a clear view of the room and is near a power outlet or a power over ethernet (PoE) jack if you're using one of our PoE-capable devices.
If you're using Wi-Fi instead of PoE, ensure the camera's location has strong Wi-Fi coverage.
During the DIY process, a KamiCare representative will guide you through setting up the system, including configuring resident fall or bed exit alert notifications. You can customize alerts to be sent to one staff member, some, or all, depending on your community's needs.
For those who choose professional installation, KamiCare can also install PoE networking systems on a case-by-case basis. While DIY installation is included, professional installation costs are quoted individually, ensuring you get the service tailored to your requirements.


