Have a Question?
Get in Touch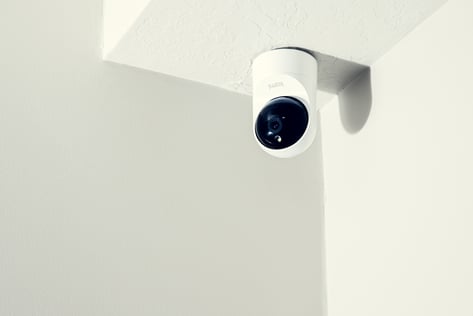
Pairing your KamiCare camera is a simple process that ensures you get accurate KamiCare alert capabilities. Follow these easy steps to connect your camera to your network and start using it right away.
Step 1: Download the KamiCare Mobile App / Log into the Web App
- If you are setting up from a cell phone, to the Apple App Store or Google Play Store and download the KamiCare app.
- If you are setting up from a computer or tablet, Open a web browser and go to kamicare.ai.
- Log into your Account. If you don’t already have an account, reach out to KamiCare support to get an account set up.
Instructions for using the Web App:
- Add a room to your community.
- Navigate to the Manage Cameras tab.
- Click on Add Camera to begin the pairing process.
- Add a camera to your room, name the camera
- Now wait to proceed until you plug in your camera.
Instructions for using the Mobile App:
- Make sure you have the correct rooms set up in your community. If you don’t, add your rooms in the Web App.
- Navigate to the Manage Cameras tab.
- Click on Add Camera to begin the pairing process.
- Add a camera to your room, name the camera
- Now wait to proceed until you plug in your camera
Step 2: Unbox Your KamiCare Camera
Carefully unbox your KamiCare camera and ensure all the components are included. Your package should contain:
- KamiCare Camera
- Power Adapter
- Mounting Bracket
- Screws and Anchors
Step 3: Power Up & Mount the Camera
- Mount the camera on the ceiling. For a detailed guide, please refer to our Step by Step Guide to Installing your KamiCare Camera
- Plug the camera into a power outlet using the provided adapter.
- Wait for the indicator light to turn on, signaling that the device is ready for setup.
Step 4: Initiate the Pairing Process
Mobile App:
- In the KamiCare app, tap Cameras -> + -> and select your camera model.
- Follow the on-screen instructions to complete the pairing process.
Web App:
- Navigate to Manage Camera and click Add Camera in the top right.
- Follow the on-screen instructions to complete the pairing process.
Step 5: Connect the Camera to Wi-Fi
- Ensure your mobile device is connected to a 2.4GHz Wi-Fi network. The text boxes are case-sensitive.
- Enter the correct Wi-Fi credentials when prompted.
- The app will generate a QR code—hold it in front of the KamiCare camera lens until you hear a confirmation sound.
Step 6: Confirm Successful Pairing
- Wait for the camera to connect to the network.
- The app will display a success message once the camera is paired.
Step 7: Set up Fall Detection / Bed Exit
- If you stay in the pairing flow, you will be directed to the Event Setup page.
- If you need to find this later, navigate to the Manage Cameras tab in the app.
- Click the three-dot menu for the specific KamiCare device.
- Go to Event Settings, and click through to the Zones setup pages for either Fall Detection or Bed Exit.
Fall Detection Avoidance Zones: Identify furniture, mirrors, TV’s, pictures on the wall, and other fixed objects in the monitored area. Make sure to mark furniture where someone may sit or lay, or anything that may look like or reflect a human (like a mirror or TV).
Bed Exit Zones: Clearly define the bed area, including the mattress and bed frame. Make sure to include the entire bed, otherwise KamiCare may not be able to detect a Bed Exit.
For a more detailed tutorial, refer to our article on How to Set up Fall Detection and Bed Exit Zones.
Final Thoughts
Your KamiCare camera is now successfully paired and ready to provide security and peace of mind. If you encounter any issues during pairing, consult the KamiCare support page at kamivision.com for assistance.
Enjoy your new KamiCare camera and enhanced peace of mind!

